


![How to send mass emails in Gmail [A step-by-step guide]](/blog/content/images/size/w2000/2020/10/mass-email.jpg)
In response to the recent work-from-home trend, Google has brought all their productivity apps together under one umbrella. Google Workspace promises to give users “everything they need to get anything done, in one place.” That’s Gmail, Calendar, Drive, Docs, Sheets, Slides, Meet, and everything else where you need them. Being productivity buffs, this piqued our interest. We took a look at exactly what this means for the processes we need.
This is how to send mass emails in Gmail, using Google Workspace.
You can’t send a mass email campaign if you’ve got nobody to send it to. The first stop in our Gmail mass email quest is to set up a mailing list. Google’s address book is Google Contacts, and it’s an online address book where you can add new contacts, import them, export them, edit them, send emails to them, search through them, merge them, restore deleted ones, and share access for.
Adding and managing contacts in Contacts is easy.
Manually adding contacts in Contacts.
- Head to contacts.google.com.
- Hit the “Add new contact” + button in the bottom right corner.
- Choose whether you want to add a single contact, or add multiple contacts.
- Fill out the data you need.
- By hitting the “Show more button” when creating or editing a contact, you’ll be able to fill in up to 54 different fields of information, including a custom field.
- By hitting the ⊕ button on the right hand-side of a field, you can multiply fields.
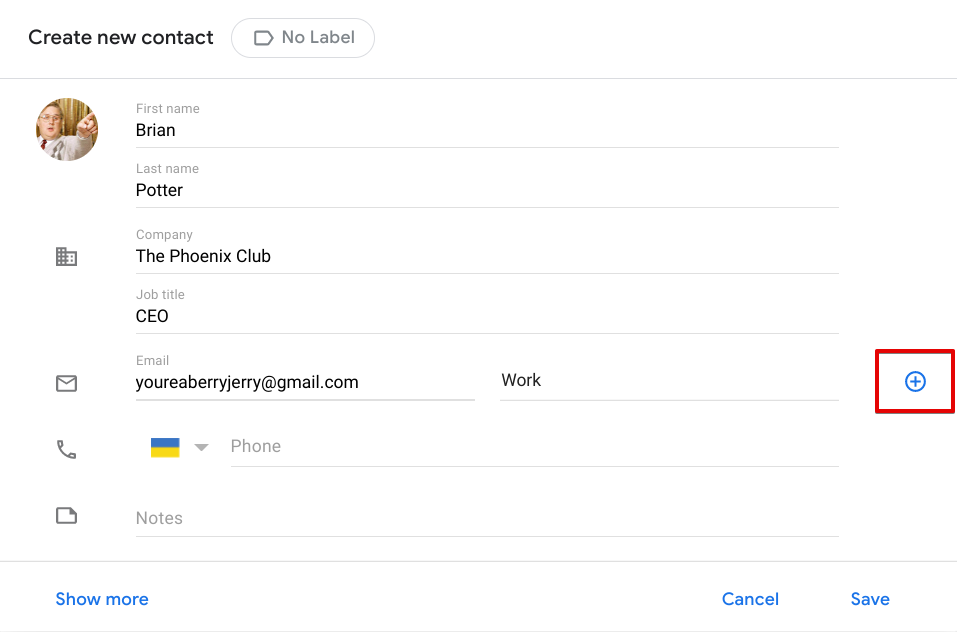
Hit “Save”.
Tip: You can also add contacts automatically. By adding people as you email.

- Head to Gmail and open “Mail Settings” in the top right corner by clicking the ⚙️ icon.
- Hit the “See all settings” button.
- Open the General tab, and scroll down to find “Create contacts for auto-complete”. The top option adds recipients to Google Contacts automatically.
- Scroll down to the bottom and hit “Save Changes”.
Labelling contacts in Contacts.
Whether you’ve imported an existing database of contacts using a .csv file, whether you’ve taken advantage of the “Add multiple contacts” feature, or whether you’ve slaved away adding your contacts one-by-one, it’s important to add labels to them. Labels work across Gmail and Google Contacts, and segmentation allows users to develop highly personalised and customer-centric reaching out campaigns.
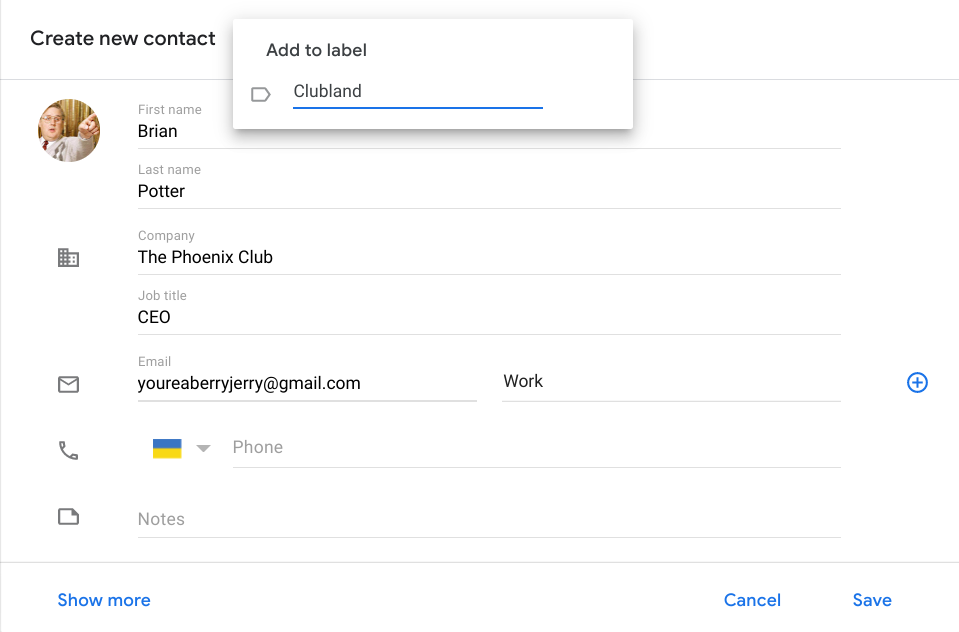
- Add / Edit Contact.
- Find the label section next to “Add contact” / “Edit contact”.
- Choose a pre-set label or create your own.
To find the segmented groups simply click on, or search for, the label you want to see.
With contacts grouped together depending on variables such as location, purchase readiness, or simply how great they are, users can save a lot of time and energy from sifting through overflowing contact lists or emails to find the personnel they need. As a result, it becomes much easier to reach out, engage, and close a deal.
![]() You can find out more about segmentation by reading this article.
You can find out more about segmentation by reading this article.
Creating templates in Gmail.
Google Labs used to be a place where Gfans could test out new features and send their feedback directly to Google. A lot of people have been asking ‘where has Google Labs gone?’, It’s not gone. Google just incorporated it into the Advanced Settings section of your G Suite. Here, you’ll find the option to enable templates of frequent messages and other little features you might not know about.
- Head to Gmail and open “Mail Settings” in the top right corner by clicking the ⚙️ icon.
- Hit “See all settings”.
- Find the “Advanced” tab.
- Enable the templates option.
- Don’t forget to hit “Save Changes”
A mass email campaign can have any number of purposes. If you’ve not read our article with Absolutely Everything You Need to Know About Email Marketing, go do it. If you can’t be arsed, in true NetHunt fashion we’ll break it down for you.
Here’s a little inspiration for your mass email marketing campaigns.
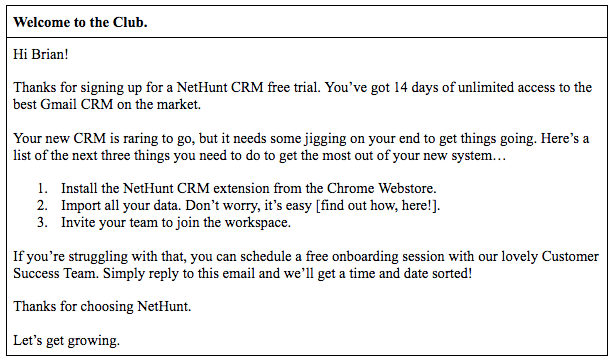
Welcome to the club.
Welcome emails are 86% more likely to be opened than a standard newsletter. They’re a free hit when it comes to email marketing, and the first chance your business has got to make an impression. If your welcome email blows, it’s also your business’s last chance to make an impression.
The sole aim of your welcome email is to encourage a user to take the next step. Something like this should do it.
We’d send this email to all our New User label.
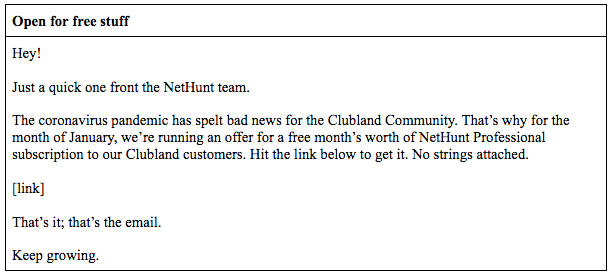
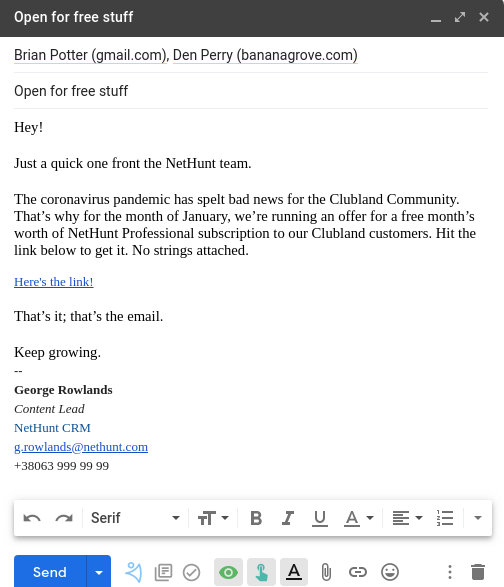
Promotions.
Hands up if you love free stuff… *everybody puts two hands in the air*. A good offer or discount is a timely reminder of how great your business is.
We’d send this mass email to those customers in industries we know are suffering.
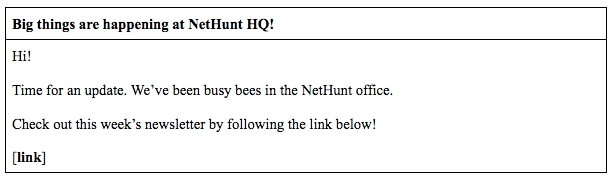
Content.
What’s the point in writing red-hot content, if you don’t give it the spotlight it deserves? Newsletters keep your customer base informed and up-to-date about what’s going on in your business.
We’d send this to our Subscriber label.
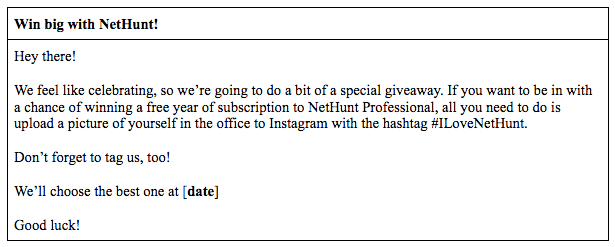
Competition.
Competitions are ways to boost engagement and brand awareness.
We’d fire this email out to our Unengaged list.
Ultimately, it’s up to you to create the templates that you and your business needs, depending on what the goals are for your different email campaigns. Once you’ve decided, creating individual templates is as easy as writing out an email.
- Open the “Compose” box.
- Type out the email you want to template.
- Hit the three dots at the bottom.
- Hit “Templates”.
- Hit “Save draft as template” from the menu that pops out.
- Finally hit “Save as new template”.
But there’s just one problem. Native mail merge in Gmail is hard work and involves high-end Sheets formulas.
With NetHunt CRM, you can insert mail merge features into your templates to properly personalise your messages… easily. Mail merge lets you insert personalised data into each individual email you send in an email campaign. This can include things such as personal name and company name, and overall this is a feature that engages your recipients and humanises your outreach.
Automate your Email signature.
The final thing your mass email definitely needs is an email signature. A clear, consistent email signature is important for your business because it gives a recipient somewhere to go, whether it’s contact details to get in touch or a link to further reading. We’ve already preached all that, and told you how to design the perfect one, in a previous article.
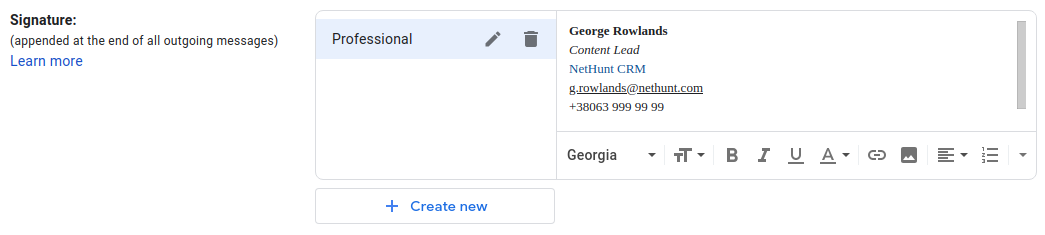
Here’s how to create a signature in Gmail.
- Head to Gmail and open “Mail Settings” in the top right corner by clicking the ⚙️ icon.
- Hit “See all settings”.
- Under "General," scroll to "Signature", third from the bottom.
- Hit “+ Create new”
- Name your signature.
- Create your signature. Each signature has a limit of 10,000 characters.
Hit “Save changes” at the very bottom of the settings window.
Here’s how to automate your signature in Gmail.

You can create multiple signatures in Gmail, and each one can have a different purpose. You could have a professional signature, a signature specifically to send to your team, and a personal signature for friends and family. For a work email, it’s best to have your “Professional signature” set as the default “FOR NEW EMAIL USE” and “ON REPLY/FORWARD USE”.
Easy.
You’re all set up and finally ready to start automating your mass email campaigns out of Gmail.
Sending bulk email campaigns in Gmail.
- Choose your recipients.
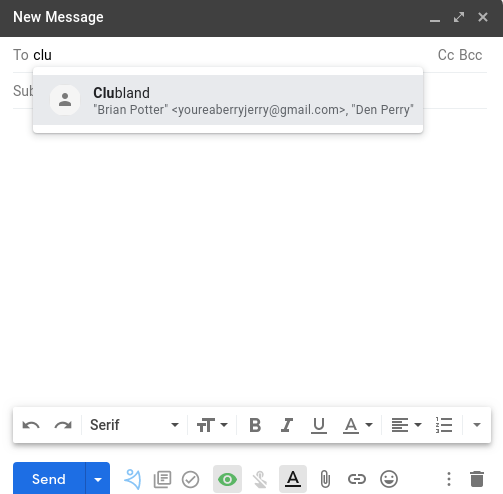
- Start typing the name of the Label you want to email.
- Click on the auto-complete option.
- The “To” field should populate with each contact in that Label.
- Choose your template.
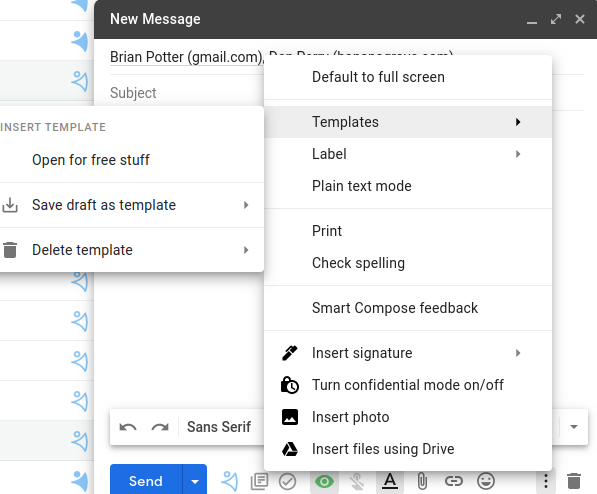
- Hit the three dots.
- Hit “Templates”
- Choose the appropriate, pre-made template.
- Insert your signature.
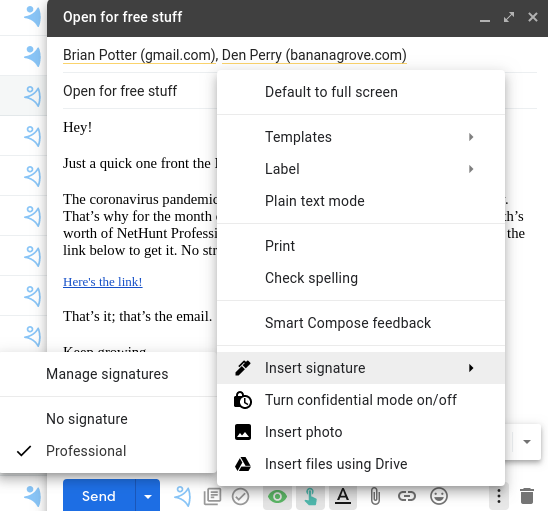
- If your view is minimised, hit the three dots on the bottom bar.
- Find the “Insert signature” pen icon at the bottom of the meu.
- Choose the signature you want to insert.
- Hit Send!
Oh, wait. Gmail limits its users to 500 sent emails per user, per day.
With NetHunt CRM, you can send an unlimited amount of emails using our email server!
 Guest Author
How to track your emails in Gmail.
But wait! If you want to level up your email campaign by tracking the results, Gmail offers a very limited feature to help you do so. Some accounts can request your recipient to send you a “read receipt”, which notifies you when individual recipients open your email. Some accounts, not all accounts.
Disclaimer: this is a rubbish way to track emails
Personal accounts that end in gmail.com cannot request read receipts. Similarly, accounts without administrator privileges can’t request read receipts either. Even if you do have these accesses, this is a bad way to track emails. There’s no guarantee that the recipient will accept your request for a read receipt, and so they are completely unreliable.
There’s a better way. NetHunt email tracking.
NetHunt’s email tracking feature notifies you when a recipient has opened their email, at what time, and even what device their email was opened on. Second, it informs users whether links and attachments in their email get clicked on. It’s clever, it inserts a teeny-tiny tracking pixel into your email or link. When that teeny-tiny tracking pixel is downloaded, it’s logged in the NetHunt system as a view.
![]() Find out more about how to track your emails in Gmail using NetHunt CRM.
Find out more about how to track your emails in Gmail using NetHunt CRM.
Everybody’s automating their email campaigns these days. If you want to do it the hard way, do it through Google. If you’re the kind of person that likes the easier things in life, the extended functionality, and the sky-high ROI… give NetHunt a try. Our users love us.
Sign up for your 14-day free trial, today!

 product experts — let's find the best setup for your team